When a chatbot is integrated to Amazon Alexa the users experience a high quality of customer service.
Let us see how you can integrate your chatbot made on our platform to Amazon Alexa.
Go to configure tab, click on integration and go to Alexa Settings.

When you open Alexa Settings tab, you will see this following screen asking you to fill details.

Skill name: Skill name acts as an interface between Alexa and the user. So enter your skill name here.
Summary: With a summary that describes your skill.
Description: Here you will need to give a detailed description of the skill functionalities.
Let us understand this with an example. Here we pick event planning bot as our example.

When you are done filling in all the three details click on add. As soon as you click on add you see a message that says, “Your Alexa Skill has been created successfully.”
With this message, you will also see these two new buttons.

By clicking on update your skill will be set on Amazon Alexa. By clicking on delete the complete skill will be deleted and you will need to redo it again.
Now after updating your skill, a new bar will appear on your screen called Invocation name.

Invocation name is the word or a phrase that a user will say to activate the skill. In simple words, a user will use this name to interact with your bot.
Here we set invocation name as city flash fun.

Set the invocation name and click on update. After clicking on update you will see a message saying “Alexa Skill Invocation name is updated successfully, please wait for 5-10 minutes for the changes to reflect.”
When you have updated your Invocation Name, you will now have to fill in more details in a bar called Submit an Alexa skill for certification.

Submitting your Alexa skill for certification is important for your skill to go live on your bot. In the certification process, your skill goes through various quality test powered by Amazon Alexa.
Here the team checks if your skills meet Alexa guidelines if the skill performances all the functionalities accurately and so on.
If your skills passed all the test, you get the access to make the skill live. This information is passed to you via mail.
Now let us fill in details and submit our Alexa skill for certification. This is a bit lengthy process let us break it down into phrases.

Let us look at phrase 1 of this:

Example phases are the questions that you set. The questions you want Alexa to answer. Here you only have an option of adding 3 questions. Keywords are where you have to add any keyword related to your skill. For our example here are the details we filled in

Moving on the phrase 2
The phrase 2 has category and icon placement.

Select the category of your skills from the options given.

After selecting your category, it is time to place your icon as per the mentioned size. That is small icon (108*108) and large icon (512*512). Both icon placements are compulsory.
The icon can be your logo or anything related to the brand.
![]()
And the last phrase of the certification

Here you will see testing instruction, terms of use URL and privacy policy URL.

After completing the process click on submit skill for certification

When the submission is done, you will have to wait for the mail for your skill to get live. Follow these step of integration and wait for the mail.
Now let us have a look how you can manually integrate Amazon Alexa
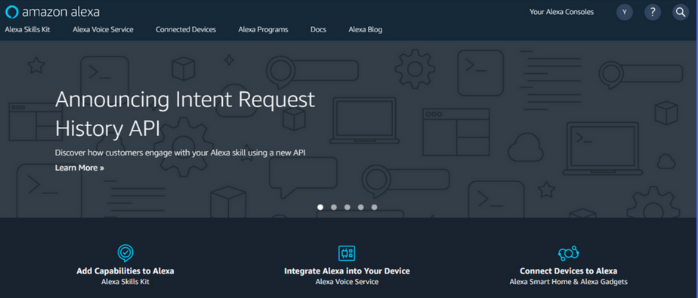
Go to your Amazon Alexa account and sign in there. If you don’t have an account create one by visiting Amazon Alexa Official Site This is how the Alexa dashboard will look.
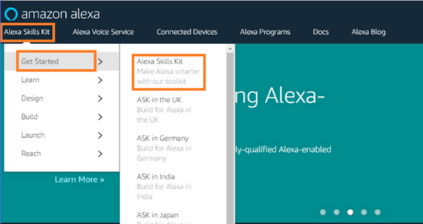
After signing in, on the extreme right you’ll see Alexa skills kit, hover over there you’ll see a drop of various items, reach out to the first item called Get started and click on Alexa skills kit.
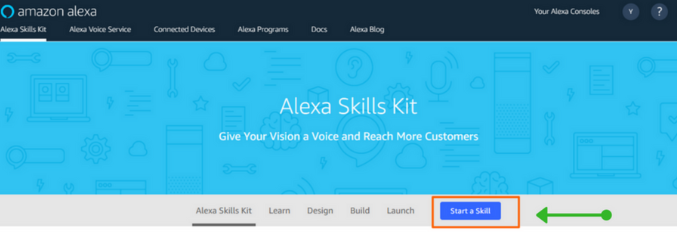
When you reach Alexa skill kit page, click on the blue button called start a skill.
When you click on start a skill, you will see a new page and on the left, you will see a button called Create skill. Click on create skill to get started.

After clicking on create skill, you will have to give your skill a name.
Give your skill a name and click on next.
To make this easier let us take an example of the hotel industry.
Here we set Hotel heights as our skill name.
After clicking on next, you will have to choose a model to add to your skill. Select the custom model from the given options
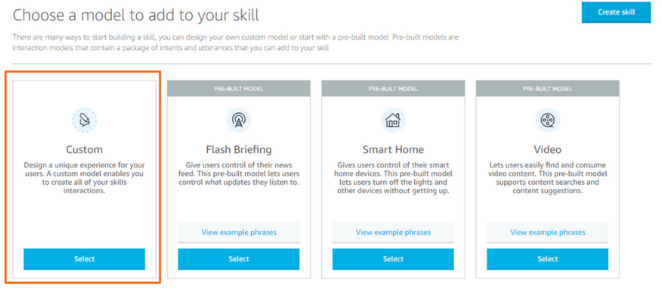
After selecting your model, click on create skill on the top right of the screen.
Create skill will take you to a screen that looks like this
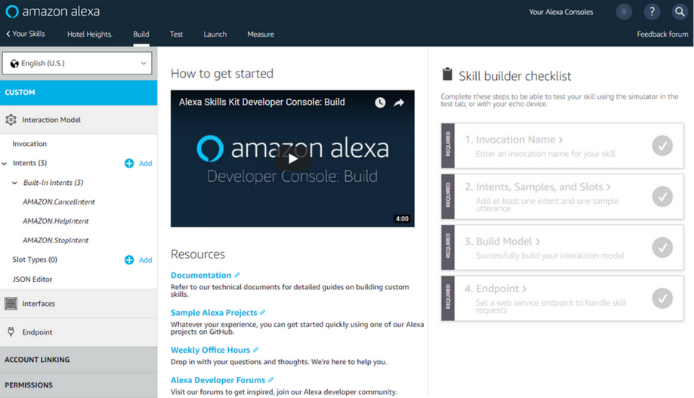
Here you are in the Build tab of the creating your skill.
Start by setting an invocation name. On the left column, you will see a tab called Invocation, click on that
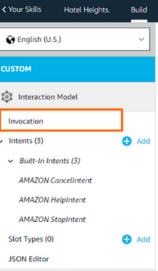
Invocation name is the word that you have to say to activate your skill. With this name, the user will interact with your bot.
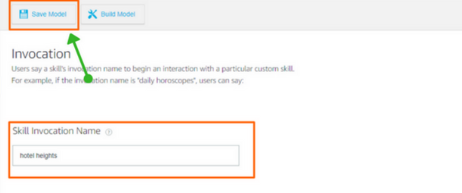
Here we set Hotel Heights as our Invocation name. When you are done setting your invocation name click on Save Model.
After setting your invocation name, let us move to JSON editor in the same column.
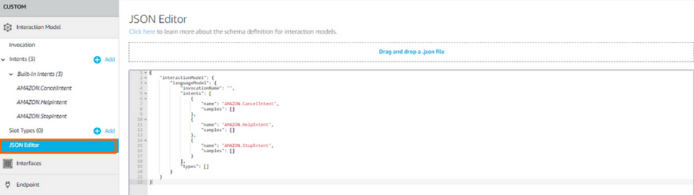
There you will see some coding. Where you will have to add an extra code below intent. Something similar to this
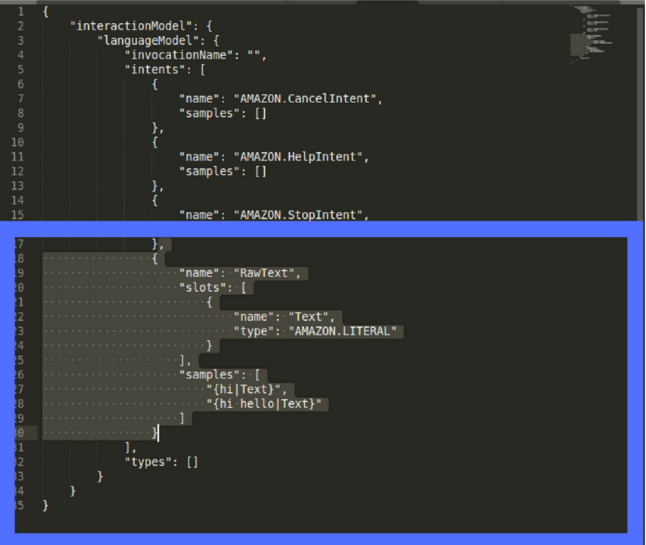
The code that you need to copy is below, , { "name": "RawText", "slots": [ { "name": "Text", "type": "AMAZON.LITERAL" } ], "samples": [ "{hi|Text}", "{hi hello|Text}" ] } Simply copy, paste it below intent and click on Save model.
The 2nd tab you see is interface. There you don’t need to make any changes. So we will move to the next step.
The 3rd tab is called Endpoint. There you will see two options click on HTTPS. You will see a screen like this
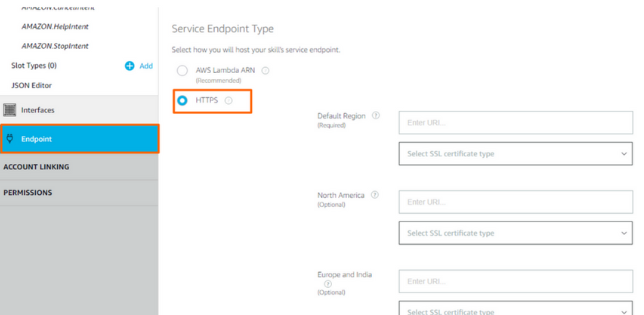
Here you will have to get a link from your Floatbot’s dashboard and paste it in the Default region section. Go to the floatbot’s account dashboard, click on configure and click on Alexa setting. In the end, you will see a link, copy that and paste it here.
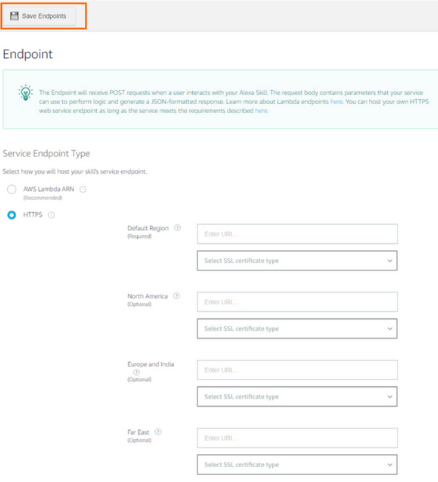
Once you have pasted in the default region, you don’t need to fill details in the next 2 tabs. Save the information by clicking on Save Endpoints.
Now move to the launch tab in the Amazon Alexa dashboard
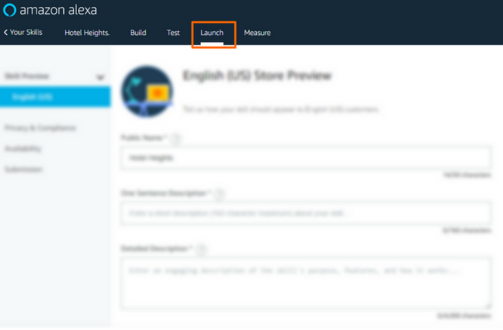
Here you will have to fill details regarding your skill. To understand this process in a better way. Let us break it down into 3 parts
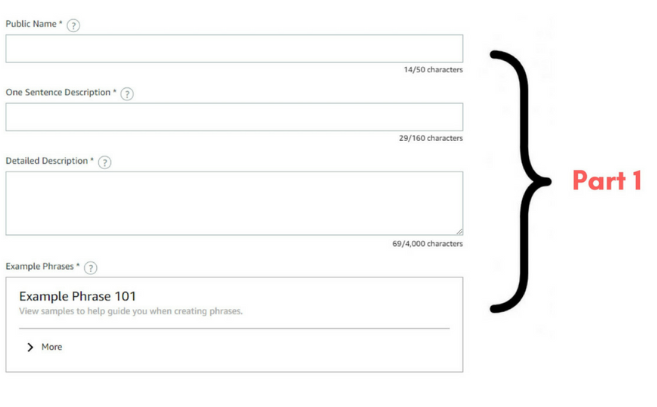
Public name: This will be your skill name. One sentence description: Write a short description of your skill. Detailed description: Here you have to give details regarding your skill. You can write about the functionalities of your skill. Example phrases: Example phrases are the questions that you will enter. Here you have an option of entering 3 questions. To know more about example phrases click on More.
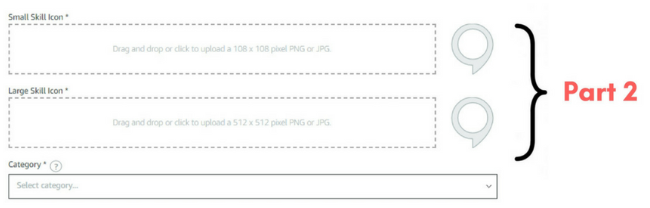
Small skill icon: Upload an icon/logo related to your brand. The size should be 108*108 Large skill icon: Upload an icon/logo related to your brand. The size should be 512*512 Category: Select the category of your skill by clicking on the downward arrow on the extreme right.
The last part of this is these tab

Keywords: Enter up to 30 keywords related to your skill Private policy URL: Enter the link to the privacy policy that applies to this skill Term of use URL: Enter a link to the terms of use document for this skill After entering all these details click on save and continue. Then you will have to answer some questions to reach this final page.
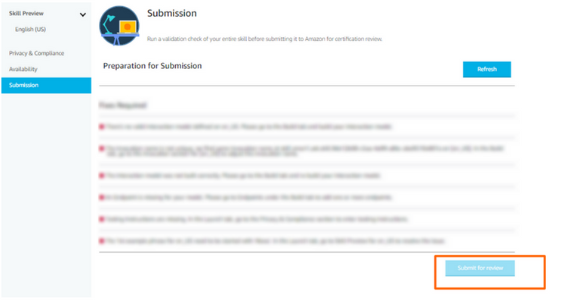
After reaching this page, you will have to submit your skill for review. The Alexa team will review the skill and if it passes the review test it will let you make your skill go live. You will receive a mail regarding the approval of your skill.
By following these steps you’ll be able to make create a skill on Amazon Alexa.