The setting tabs will enable you to make changes in your chatbot at 5 levels.
Under this type of settings, the changes done will be reflected on how your chatbot will appear. Changes can be done from the following elements.
Show label-
Here you can set a label name which will appear below your chatbot on the website. You can customize the color as per your requirement.
Bot logo-
The logo you set here appear inside the chatbot.
Bot position-
From here you can select where you want to place your chatbot. Bottom left or bottom right.
Customize color-
The color you select will reflect how your chatbot looks. Here you can customize by your brand color as well.
Script-
The script mentioned will have to be pasted before <body> tag on each page of your site to integrate chatbot on your website.
AI setting gives you complete information about the AI used in that particular chatbot with a specific token ID and developer ID.
Here you will find information like Bot ID and token. After you have selected the notification type, you’ll have to enter the server key and click on save
The same information of Bot ID and token is given. Here you will have to upload the certificate and enter the password.
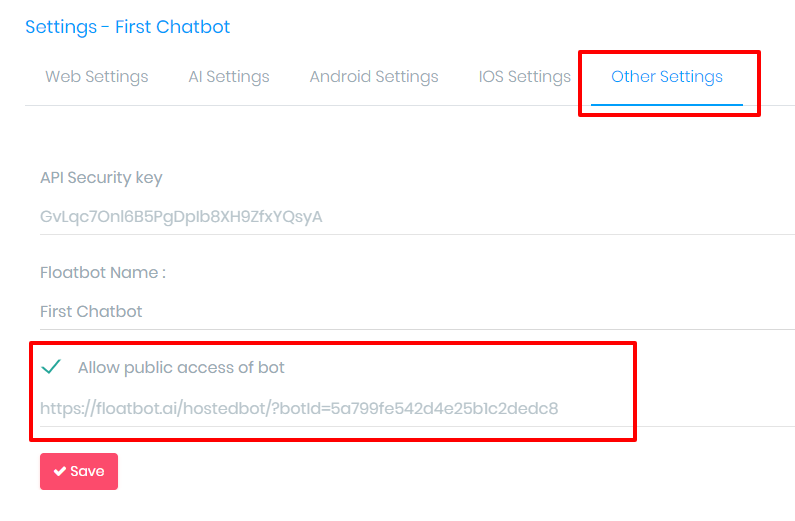
Here you’ll find API keys and Public URL.
API keys
API key id will be used in Floatbot’s external API’s.
Public URL Of Bot
By following these steps, you will be able to make your chatbot public. That means you can share your bot URL with your users which will help them to view your bot.
Follow these steps to get the public bot URL
