Getting Started (creating new floatbot account)
If you are ready to immerse yourself on the Floatbot platform, here are the initial steps to get on the platform.
Signing Up
1. Enter your business email ID to get started. Check out the terms and conditions, agree to them, and click on start.
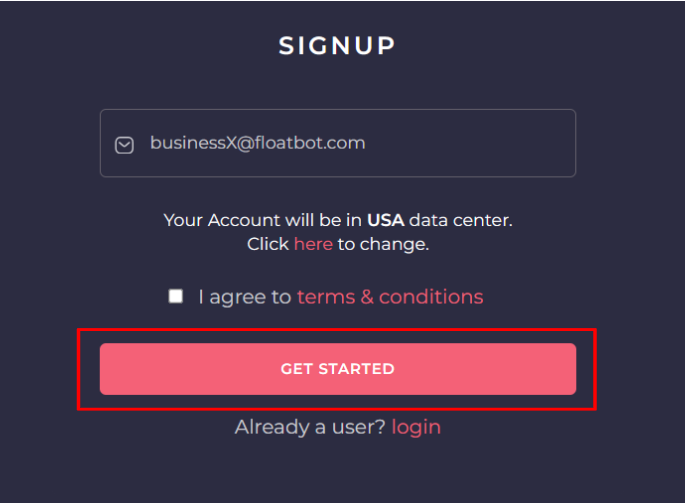
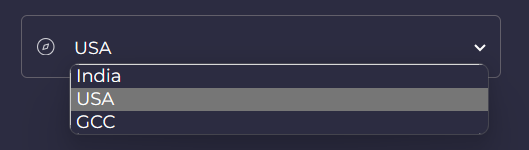
Note: By default, the account will be hosted in a data center based on user location. However, you can change it to suit your compliance regime.

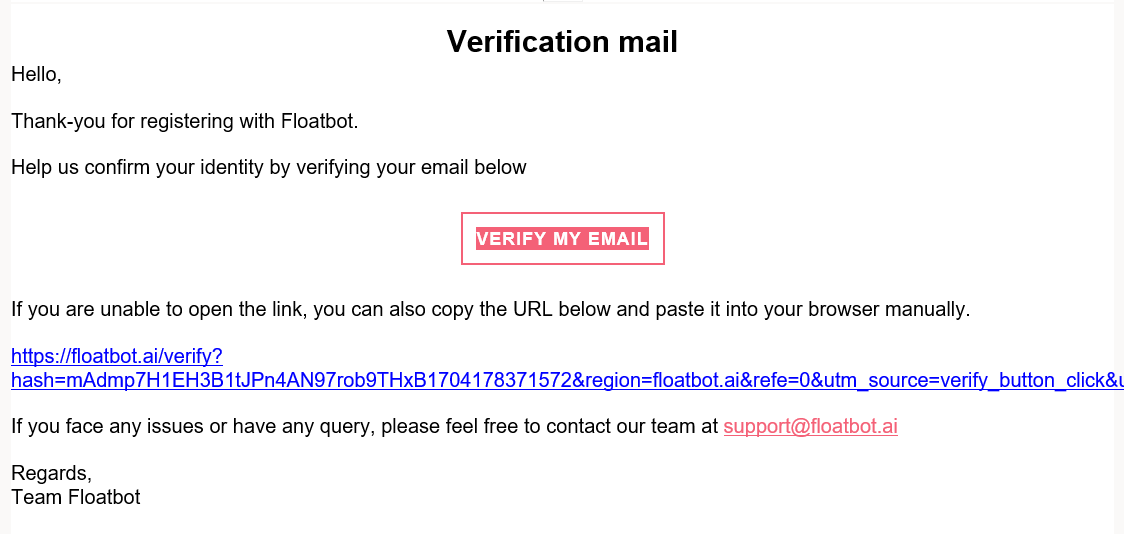
2. Once you have registered, you will receive a Verification Mail. Click on the Verify My Email button to verify your account.
3. When the account is successfully verified, you will receive a welcome message and you must schedule a demo to progress. This is a mandatory step to help Floatbot grasp your intent and requirements. Subsequently, the account will be approved by Floatbot personnel.

4. You are all set to log in to Floatbot. Upon entering your login credentials, you will get a login email where a direct Login button and an OTP will be provided. You can opt for either option to securely log in to your Floabot account.

WHITELISTING FLOATBOT IN GMAIL
If you are whitelisting Floatbot in Gmail, here are the steps to do it.
1. Open Gmail and select the Settings (gear) icon. From the menu, choose See All Settings.

2. Click on Filters and Blocked Addresses at the top.

3. Select Create a new filter and a dialog box will appear. Within the From field, type connect@floatbot.ai to whitelist it. To allow every email address from Floatbot, type the domain name - floatbot.ai

4. Next, select Create filter at the bottom of the dialog box.

5. On the following screen, select Never Send it to Spam and Always mark it as important and click on Create filter. You have successfully whitelisted Floatbot!

Whitelisting Floatbot In Microsoft
1. Open Outlook and navigate to the Home tab at the top.

2. Next, click on the Junk dropdown menu (in the "Delete" section) and click on the Junk Email Options from the dropdown list.
3. The Junk Email Options dialog box will appear. Navigate to the Safe Senders tab and click on the Add button.
4. Within the Add dialog box, type floatbot.ai to whitelist it. Next, click the OK button.
5. After adding floatbot.ai to the Safe Senders list, click Apply to apply the changes, and click OK. This will save your changes and ensure that all future emails from Floatbot are whitelisted and delivered directly to your inbox.