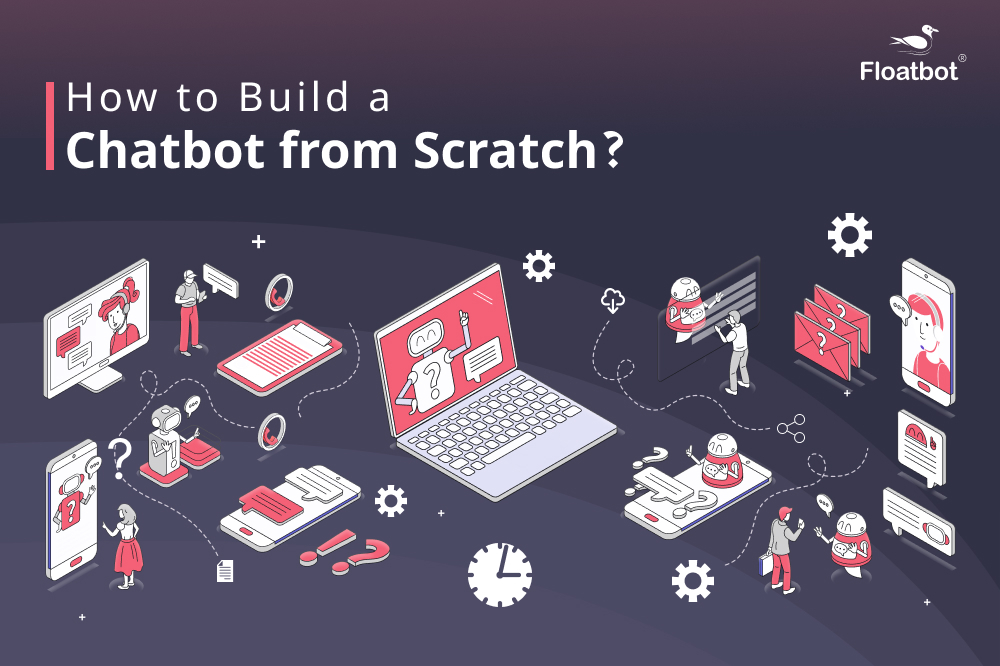
How to Build a Chatbot from Scratch?
Follow these easy steps to make a chatbot with zero coding. Floatbot walks you through the process of building your own bot from scratch.
- Apr 18 2018
In no time, chatbot became a prominent tool of communication for many brands.
But few marketers encountered questions like:
- How do I make my own chatbot?
- Will I need a developer to make a chatbot?
- What do I add in my bot?
Have these questions encountered you, too?
This article will help you to answer all your question, and help you understand the ways to create your own chatbot from scratch. With no coding (Trust me, they’re not as laborious as you think.)
Chatbot can be build in 2 ways:
- Coding a chatbot from scratch [Creating it using a programming language].
- Building a chatbot with the help of DIY chatbot platform.
Below steps will guide you create a chatbot using Floatbot
Let us start
Requirements:
1. Laptop/desktop.
2. Internet connection.
3. Floatbot account.
Floatbot is a DIY (Do it Yourself) chatbot development platform. Simply create your account and get started to the chatbot making process.
Process:
Before starting anything you will need to prioritize your objective.
Objective as to what kind of bot you want to create?
A travel bot, event bot, appointment booking bot, bill payment bot, or any other kind of bot that will ultimately add value to the customer experience.
Depending upon the objective you will be able to define your bot functionalities easily.
To better understand this, let us consider the following example.
Objective - To make an e-commerce bot.
Bot functionalities- Show products, add to cart button, buy products button, set up payment gateways, and get order details.
When you have a pre-defined objective, you can evaluate your functionalities in a more strategic way.
Once you are done with bot functionalities, you can start creating flows. Flows are created to set bot responses in various forms such as text, quick reply, images, user input, and more.
And these flows consist of different groups. These groups are a collection of different flows.

Considering our e-commerce example.
Here the product is the group, and the different product options are the flows. After understanding these two terms, start with a welcome message.
A welcome message is a great way to start a conversation with the user.
In the welcome message: write a greeting note and add flows.
These flows will give users the opportunity to explore your product. Use a particular flow to give them exactly what they have asked. If a user is looking to buy the latest trends, then why would you show them the women collection?

Here if you wish to add a link and redirect the user to a particular section of your website. You can do that too!

Make your groups and flows full of information. The more information you provide to your bot, the more effortlessly it works when it comes in contact with the user.

Let us add information to one of the flows. Information can be added in the following ways

Read the function of each button in our Documention page.
Part 1: Using the Quick reply button here.

Part 2: Using the Gallery button here.

The other elements used here are conversational pause, new flows, and text button.
Go ahead, follow the same process, and more information.
After adding all details completely, head to the account dashboard and click on the demo button. Here you can test your chatbot to see if it works as per your requirements.

Tip: Add as much information you can to the bot, and don’t limit yourself from using various features in your bot.

Visit our tech section and see which features can work the best for you.
Tip: Don't forget to integrate your chatbot on multiple social touch-point and enterprise applications.

Follow these hassle-free steps for integration.
Isn’t it simple?
You can be a non-technical person but still, use this technology to change the way of communication with your customer.
After this guide, it is now time to try it yourself. Start building your bot now!
P.S- You get a 30 days free trial, where you can enjoy all our basic and advance feature for free!
