
Amazon is setting a digital trend by revolutionizing the way of providing a better customer experience. And that trend is the called Amazon Alexa.
As time kept moving ahead, Amazon Alexa become a major part of various communication strategy for brands.
Through this blog, we will help you to integrate Floatbot in Amazon Alexa.
Floatbot is an omni-channel chatbot development platform that helps to create AI chatbot and voice based chatbots.
Let us see a step-by-step procedure of Alexa integration.
Step 1:
Sign in to your Floatbot account and go to the account dashboard.
Step 2:
After reaching account dashboard, Click on Bot dashboard, go to the Configure tab and click on Alexa Settings.
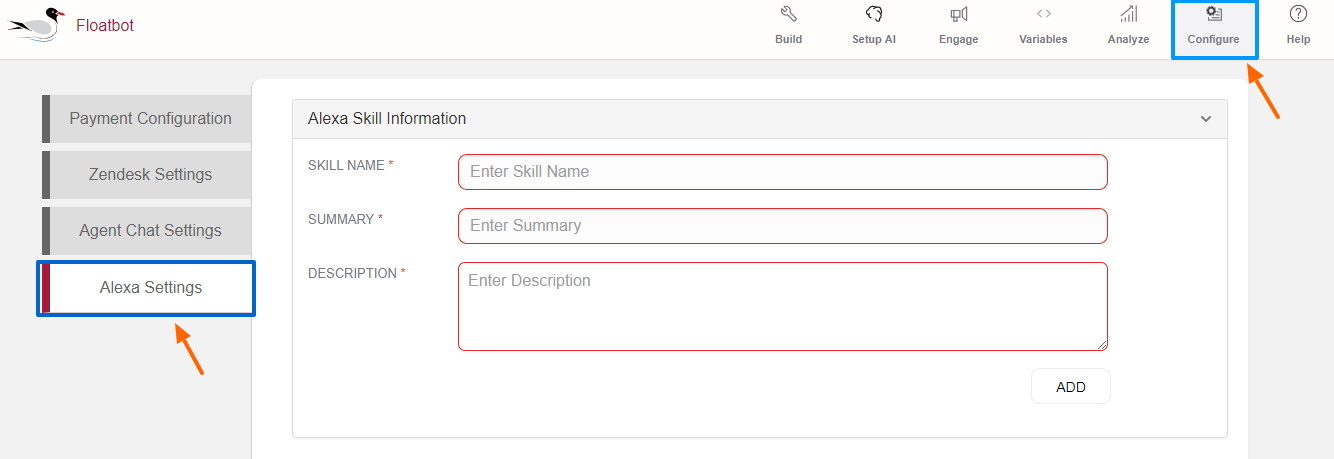
Here you will have to fill in details related to Alexa. Here the details have to be filled in 3 different stages.
Let us see the Stage 1
The first stage includes these 3 question:
Skill name: Enter the name of your skill
Summary: In summary describe your skill. What is your skill relate to? or write something about it.
Description: Write a full detailed description about the skill’s functionalities.
To explain the Amazon Alexa integration in an easier way, we are using a Hospital example.
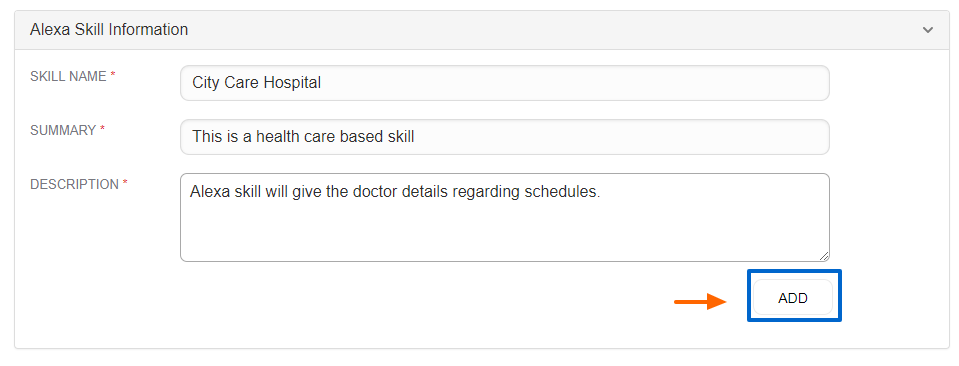
After filling the complete information, click on Add.
Once you click on add you will see this screen.
Update and Delete
By clicking on update the skill will be set in Amazon Alexa. And if you wish to change the details entered in your Alexa skill information it simply click on delete and add the details again.
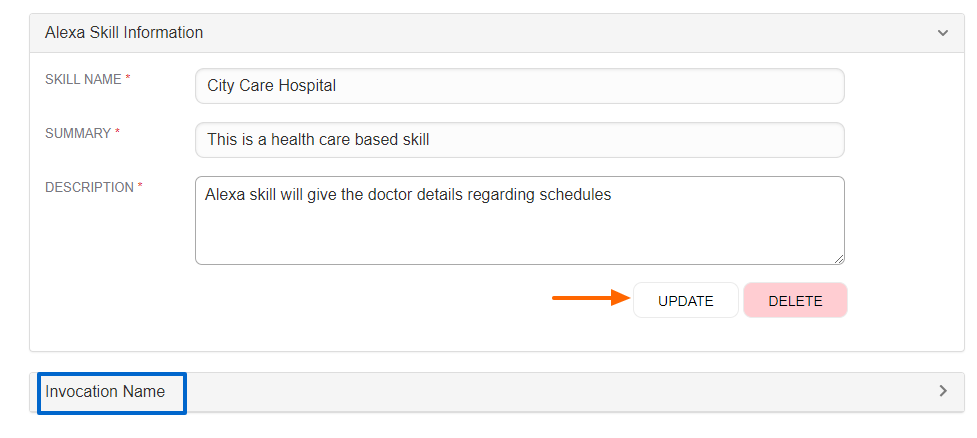
Stage 2 of the details is Invocation name.
Now let us see what Invocation name is. This name acts as a command for Alexa for it to give you future information.
In our example our Invocation name is City Care Hospital. So to get information we will say, “Alexa, Ask city care hospital.”
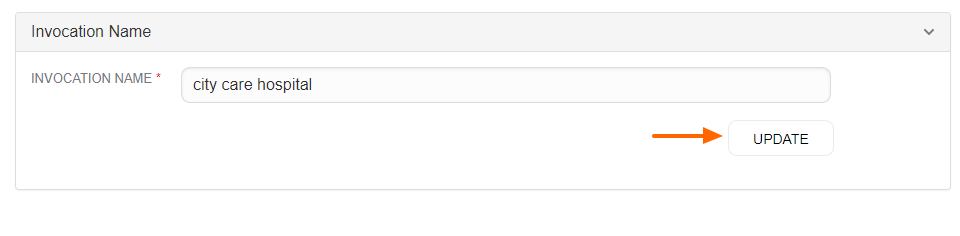
Set your invocation name and click on update. The stage 3 is to submit an Alexa skill for certification.
Alexa skill certification is require for your skill to get live in your Alexa device, here when you fill all the details and click on submit.
When you click on submit, the details will be send to Amazon Alexa team. They will test all the skills that you have mention and will mail you an estimate time by when your skill will be live.
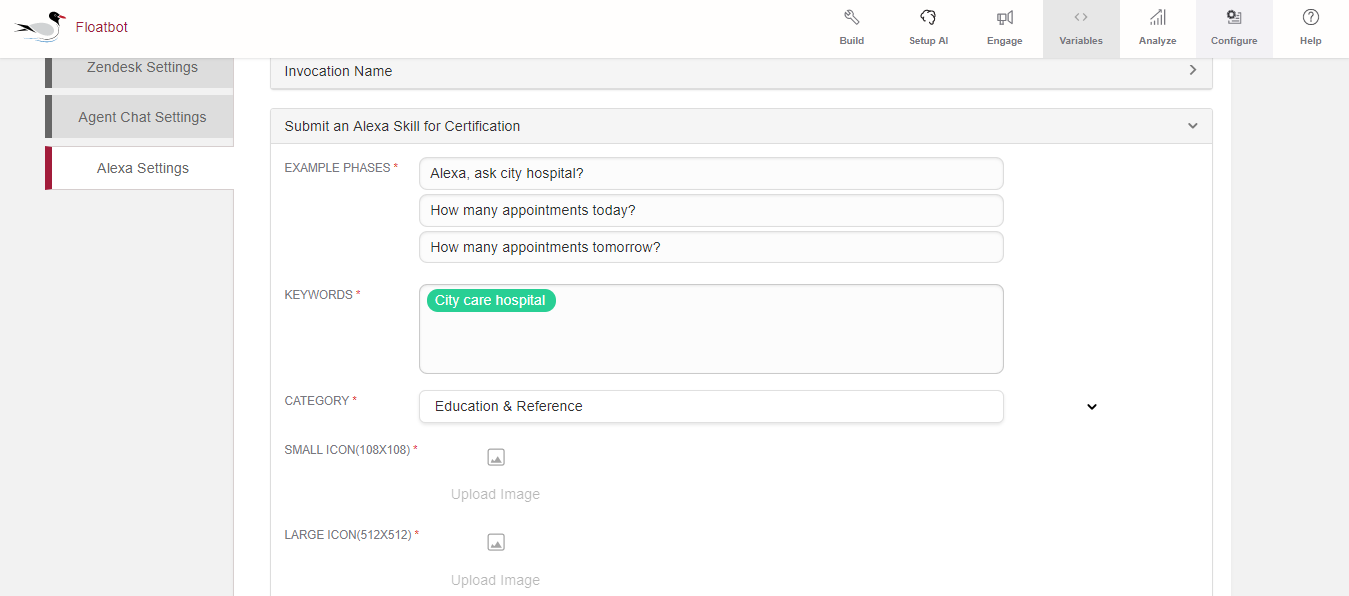
Example phrases: The 3 phrases
Keywords: Include keywords that describes your skill.
Category: Select your category.
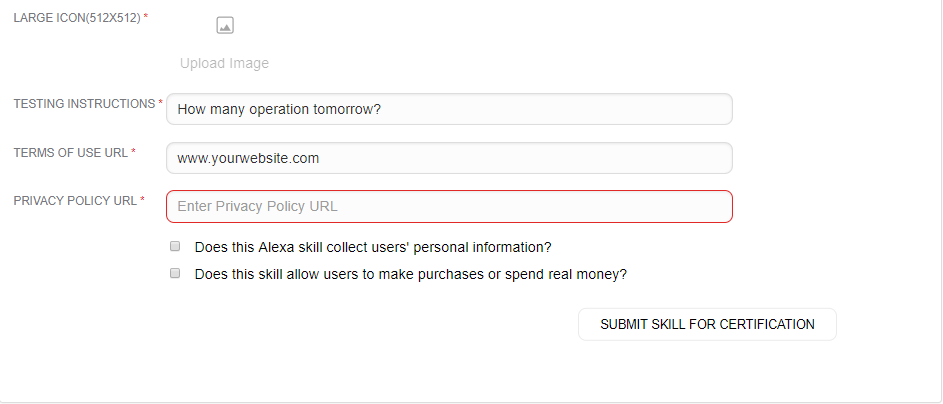
Icons: Make sure you place your logo icon as per the suggested size
Testing instructions: Here you can add additional question as a testing instruction.
Terms of use URL: This is an optional process. Link it to the document of the skill.
Privacy policy URL: This is an optional process. Link it to the privacy policy that applies to this skill.
After, clicking on submit skill for certification you will have to wait for the mail for this feature to get live.
Isnt is easy and quick, don’t hold yourself back from setting up a voice bot.
If you have any questions regarding any step, please feel free to ask us at connect@floatbot.ai .


